Design and print badges
Design the badge once and each attendee’s is rendered and stored, ready to print at the desk or show on a phone.
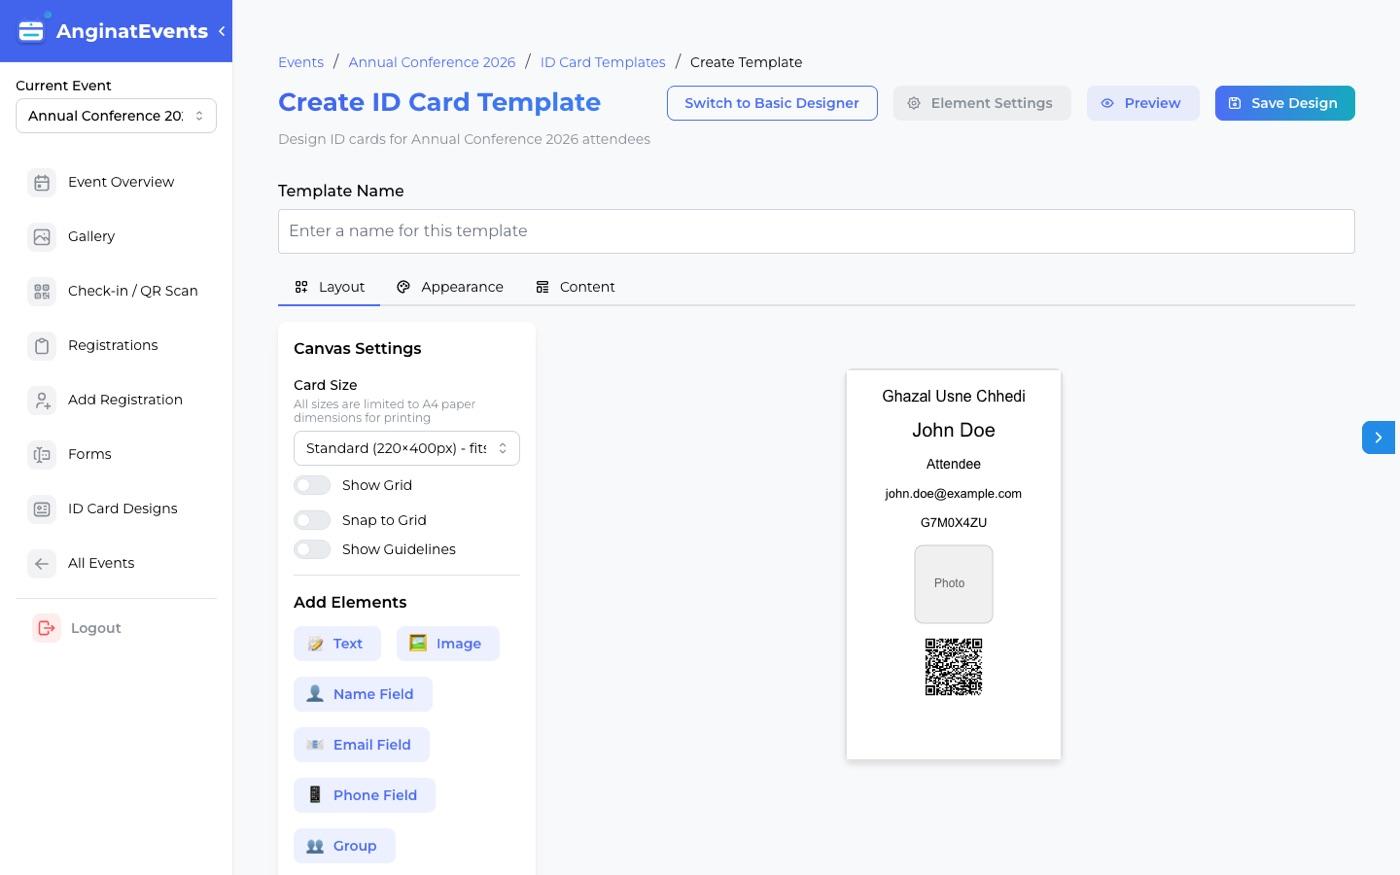
Steps
- 1
Open ID Card Designs
Place the name, QR code, logo and any category colours on the badge, and set the size to match your stock.
- 2
Check one attendee
Open any registration and look at the ID Card panel to see how a real name sits in the layout. Long names are shrunk to fit rather than overflowing.
- 3
Print at the desk
On a Sunmi device, checking an attendee in prints their badge on the spot.
Changing the design later does not require anyone to register again; badges can be regenerated.
Events with no badge design still issue a QR pass by email and WhatsApp.
Questions
Can I change the badge design after sending passes?
Yes. Update the design and regenerate. Attendees who already have a pass keep a working QR code.
What if a name is too long for the badge?
It is shrunk to fit the space rather than running past the edge of the card.
Do I need a Sunmi device?
Only for printing at the desk. Check-in itself works on an ordinary Android phone, with attendees showing the QR on their own phone.